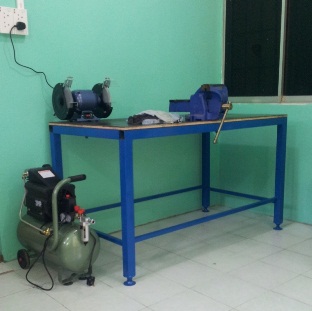
Everybody needs a workbench, right?
Well, before I could make anything in my workshop, I needed a workbench to make it on...
Actually, before I could make the workbench, I needed a welder trolley (but thats a whole other story)...
So I decided to make the workbench first... On the floor...With much crouching tired and hidden drago.. err...tools...
First I bought some 50mm X 50mm and some 25mm X 25mm box section mild steel. Comes in Not So Convenient 6M lengths..
I also bought a sheet (2.4M X 1.2M) of 6mm Mild steel for the top and a sheet of 12mm waterproof plywood to stop the bell effect.
After seeing the 6 X 6M delivery I went and bought a Cold Cutting Saw (see tools section).
After measuring 3 times and cutting once, I ended up with a bunch of pieces to form the legs and support structure. |
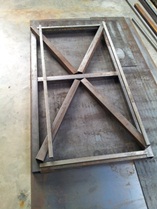 |
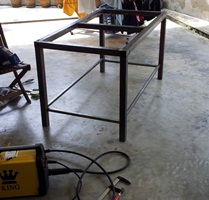 |
I MIG welded those parts together, and everything started to take shape..
--HINT-- I used a small block of 6061 aluminium alloy that I had squared up in the MILL, and a couple of G clamps to hold the pieces together and get the alignment correct as I was tacking the parts--.
BTW, CO2 MIG (well actually I would call it MAG) welding is an agressive beast to master, either not enough heat (crappy weld) or too much (a new, unplanned hole)...
Like Goldielocks wanted, it has to be just right...
Once I got the hang of it, and the new welder I just bought, it all went smoothly.
I cheated and had the 6mm sheet cut to my table size...The rest is now stock.. I did cut the plywood to size tho... |
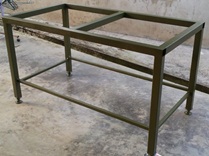
I also had to make these little, adjustable feet for the level. Since I live in a place where it is impossible to buy that sort of thing,
a few big bolts and nuts, with some washers did the trick, however it took a lot more welding and afterwards, cleanup. But at least I have adjustable levelling and some neat little feet.
--If you zoom in on the picture you can see the feet.--
A quick coat of green, toxic chrome and zinc primer and its ready for the final coat |
|
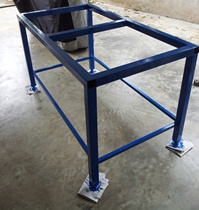 |
After a coat of blue Auto Paint (was the only thing they had around here) its all set for the top.
I drilled out four holes for the 10mm bolts and the frame was ready! |
I decided I wanted to make the bolts into studs and weld them in to the top, so as to create a smooth top
So, some quick turning on the lathe and presto! Studs!
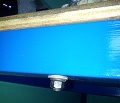
I then welded the studs into the top, bolted the top using the 12mm ply as a sandwich and used flap discs to grind down the top smooth.
As I mentioned before, the ply reduces the "bell" effect. When I am banging on a part sitting on the table with a hammer, it is not deafing..
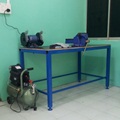
So there it is... All finished and ready to be used.. |
   |
